Difference between revisions of "Instructions"
| Line 34: | Line 34: | ||
<h1> Load material</h1> | <h1> Load material</h1> | ||
1. open lid | 1. open lid | ||
| + | |||
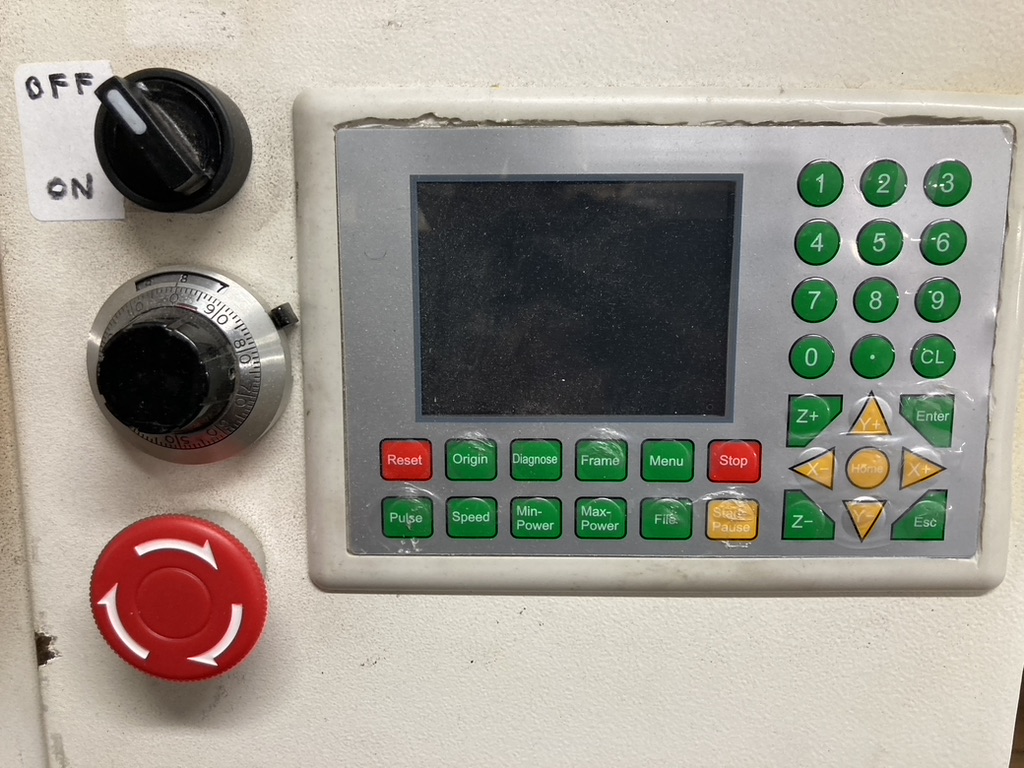
| + | 2. using the keypad home the xy and z axis | ||
2. ensure no obstructions on edge of laser bed | 2. ensure no obstructions on edge of laser bed | ||
| − | 3. place material on laser bed | + | |
| + | 3. place material on laser bed with spacers to ensure material is square to bed | ||
4. use key pad to position laser on top of material | 4. use key pad to position laser on top of material | ||
| − | |||
<h1> Focus the laser</h1> | <h1> Focus the laser</h1> | ||
| − | * place 8mm focus perspex under laser | + | * place 8mm focus perspex under laser with 8mm text vertical |
| − | * using | + | |
| + | * using one hand hold the laser and with the other slacken off the focus ring and lower it on top of the perspex | ||
| + | |||
* carefully tighten up | * carefully tighten up | ||
| + | |||
* remove 8mm focus perspex | * remove 8mm focus perspex | ||
| Line 64: | Line 69: | ||
* select file on laser keypad | * select file on laser keypad | ||
| − | * position laser at start | + | * position laser at start point |
| − | * draw | + | * draw frame to ensure laser remains on material and avoids any weights used to hold the material down |
* close lid | * close lid | ||
Revision as of 11:53, 26 January 2024
Contents
Initialise the laser
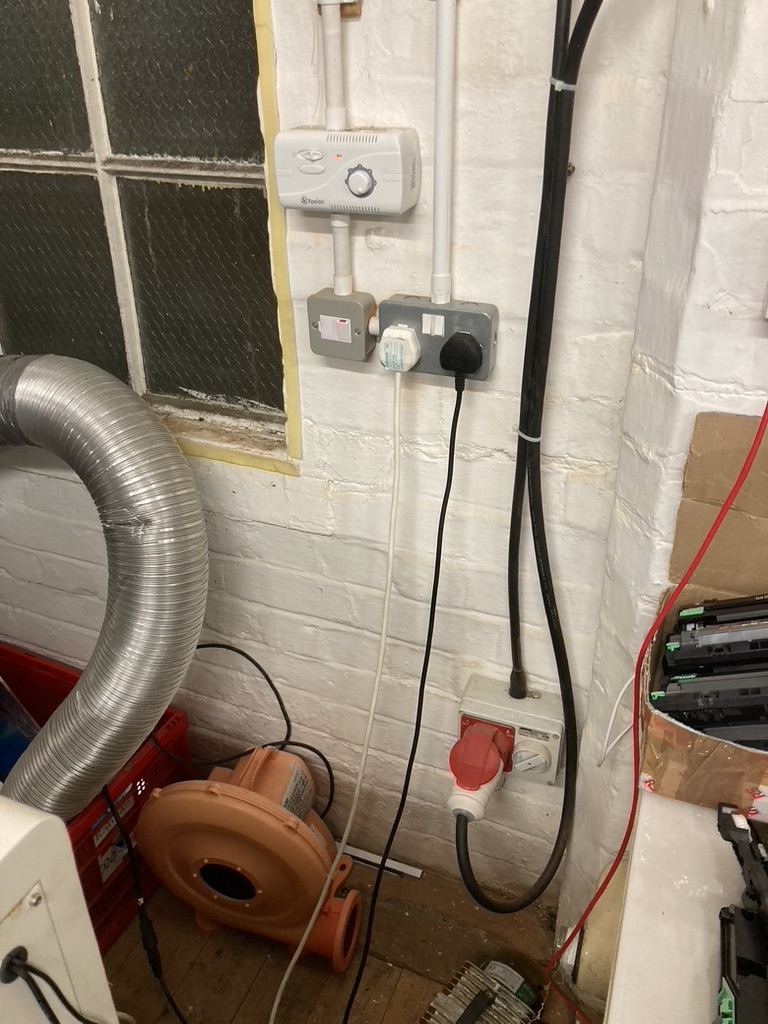
1. First close switches on the wall

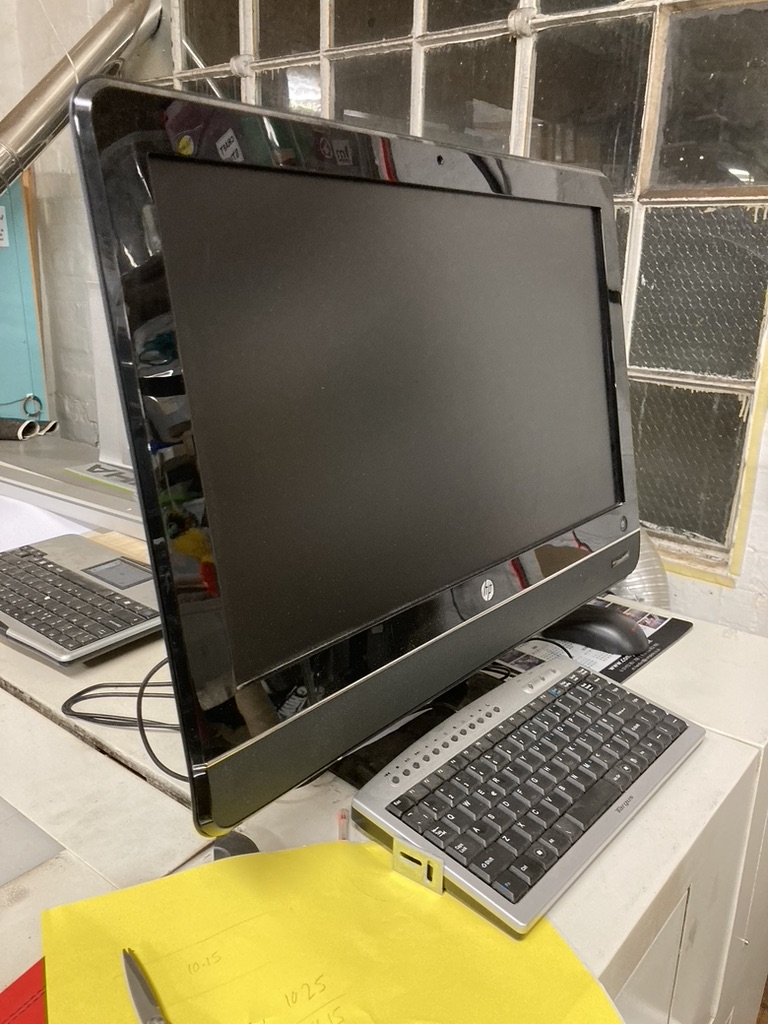
2. Boot up the PC

3. Switch on the laser
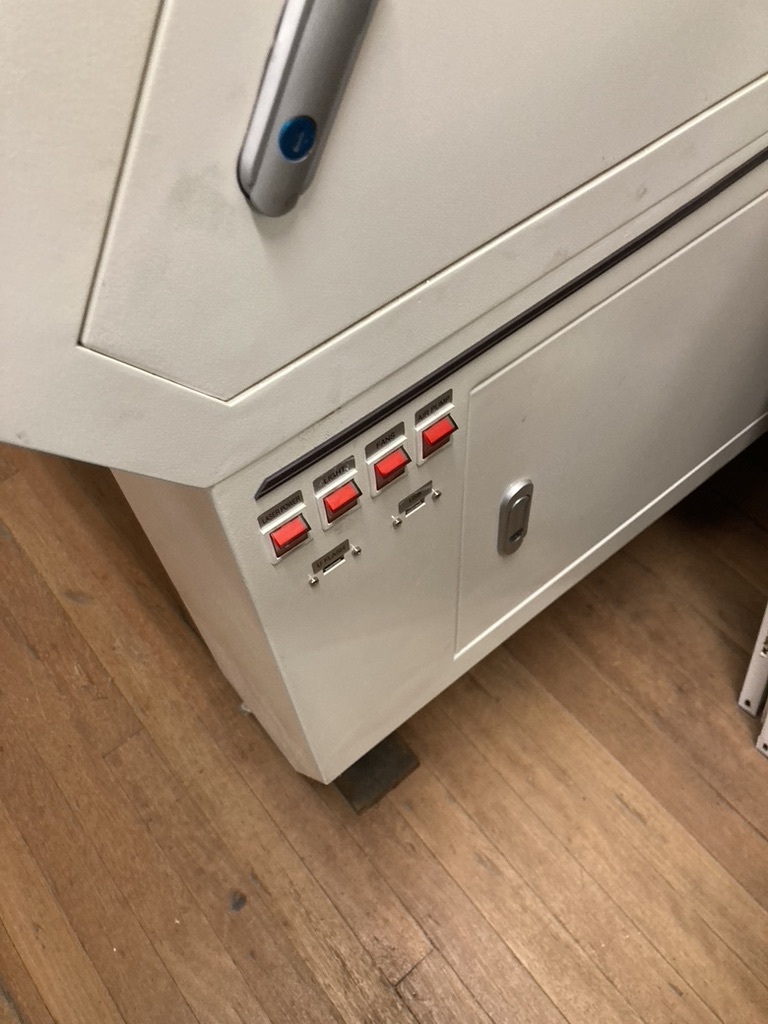

**To avoid tripping the circuit breaker leave a gap between closing each switch**
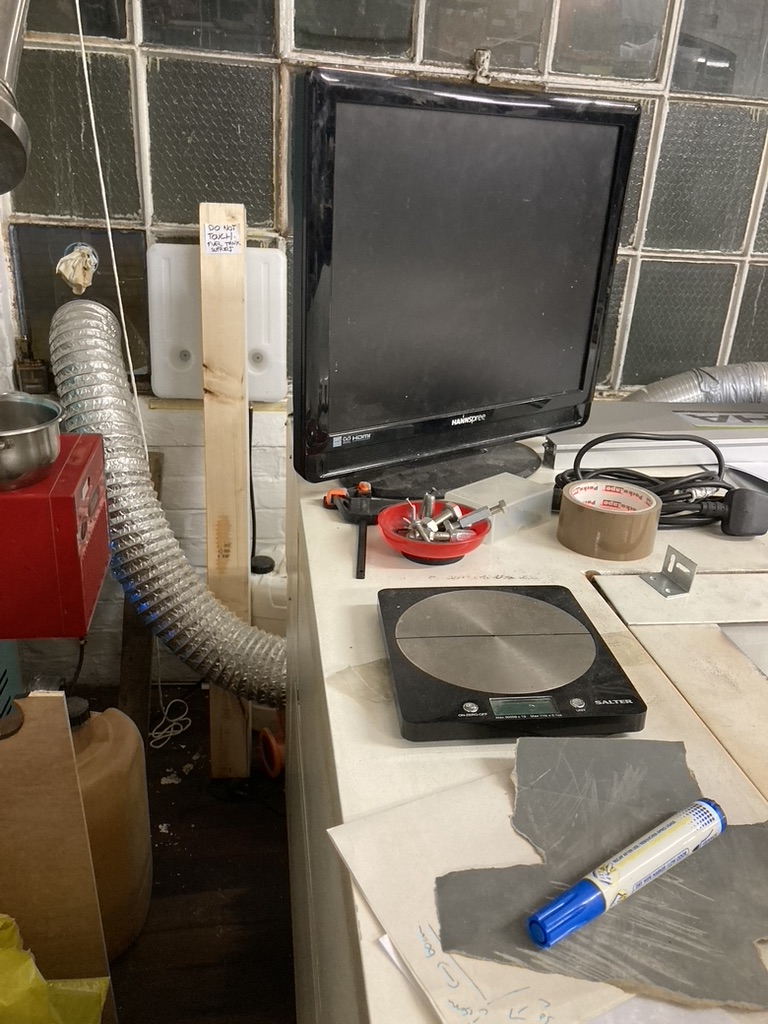
4. Switch on the camera monitor

5. Insert Safety Key
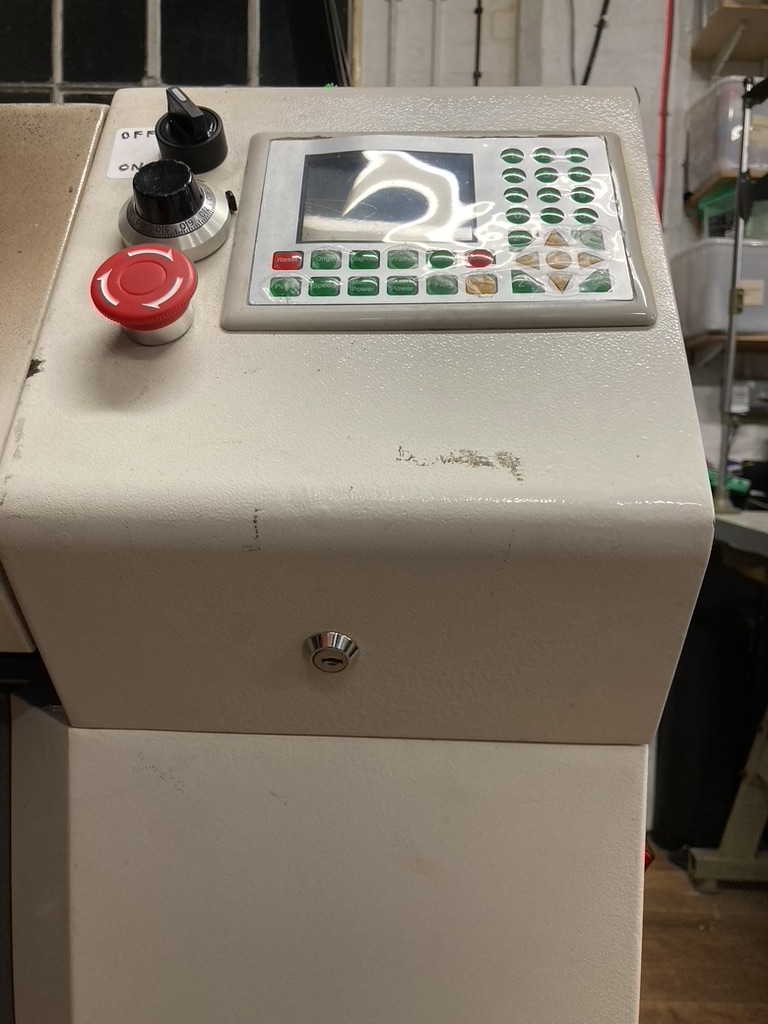

6. Switch on laser

Load material
1. open lid
2. using the keypad home the xy and z axis
2. ensure no obstructions on edge of laser bed
3. place material on laser bed with spacers to ensure material is square to bed
4. use key pad to position laser on top of material
Focus the laser
- place 8mm focus perspex under laser with 8mm text vertical
- using one hand hold the laser and with the other slacken off the focus ring and lower it on top of the perspex
- carefully tighten up
- remove 8mm focus perspex
Download instructions to laser
* open RDWorks software application
* import image from USB stick
* define order in which laser is to cut by selecting layers
* set laser speed and strength
* download instructions to laser
* select file on laser keypad
* position laser at start point
* draw frame to ensure laser remains on material and avoids any weights used to hold the material down
* close lid
* start laser cutter
* monitor progress on TV monitor
* in the event of material catching fire, STOP laser and open lid. Put fire out(??)
* on completion of laser cutting , wait until all fumes have been extracted before opening lid.
Power down Procedure
This is the reverse of the power up procedure after cleaning the bed as follows:
Using the keypad position the laser to the top right hand corner of the bed.
   Remove the material from the bed.

   To remove the waste material from the bed remove the metal guides.
It is important that these are replaced in their original position, so remember where they came from.
Using a hand brush or vacuum cleaner remove all waste material.
Occasionally the metal guides will need wiping to remove a build up of glue. This has its own procedure under routine maintenance.
Replace the metal guides in their correct position.
Switch everything off in the reverse order to the power up sequence, shut the PC down properly, do not just remove power.
Pay for use of the laser either by leaving cash in the donations box or via a bank transfer to the Hackspace account, make the reference somthing like "laser"