Difference between revisions of "Instructions"
| Line 20: | Line 20: | ||
<h1>Initialise the laser</h1> | <h1>Initialise the laser</h1> | ||
| − | 1. First close switches on the wall. The cooler should beep as it powers up. If it does not, check the unit is switched on before proceeding. | + | 1. First close switches on the wall. The cooler should beep as it powers up. If it does not, check the unit is switched on before proceeding. Also check the temperature displayed on the cooler, it should be higher than (currently) 15 degrees. If not do not use the laser. Also check the temperature in the Hackspace this should (currently) also be greater than 15 degrees. |
| + | |||
| Line 53: | Line 54: | ||
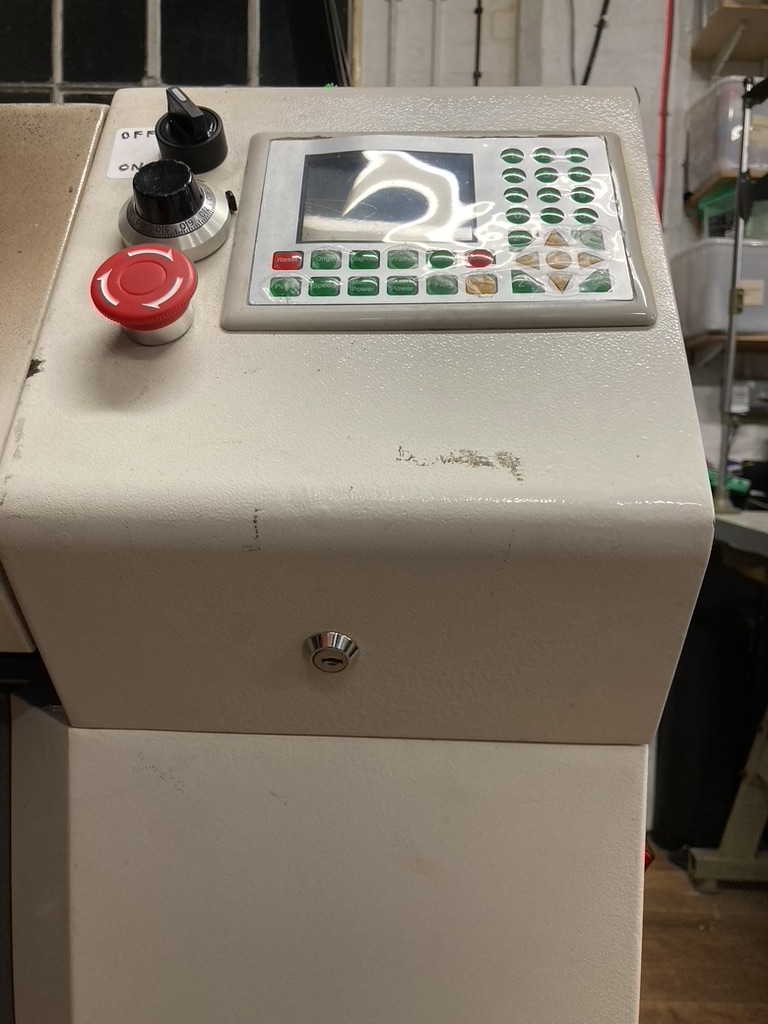
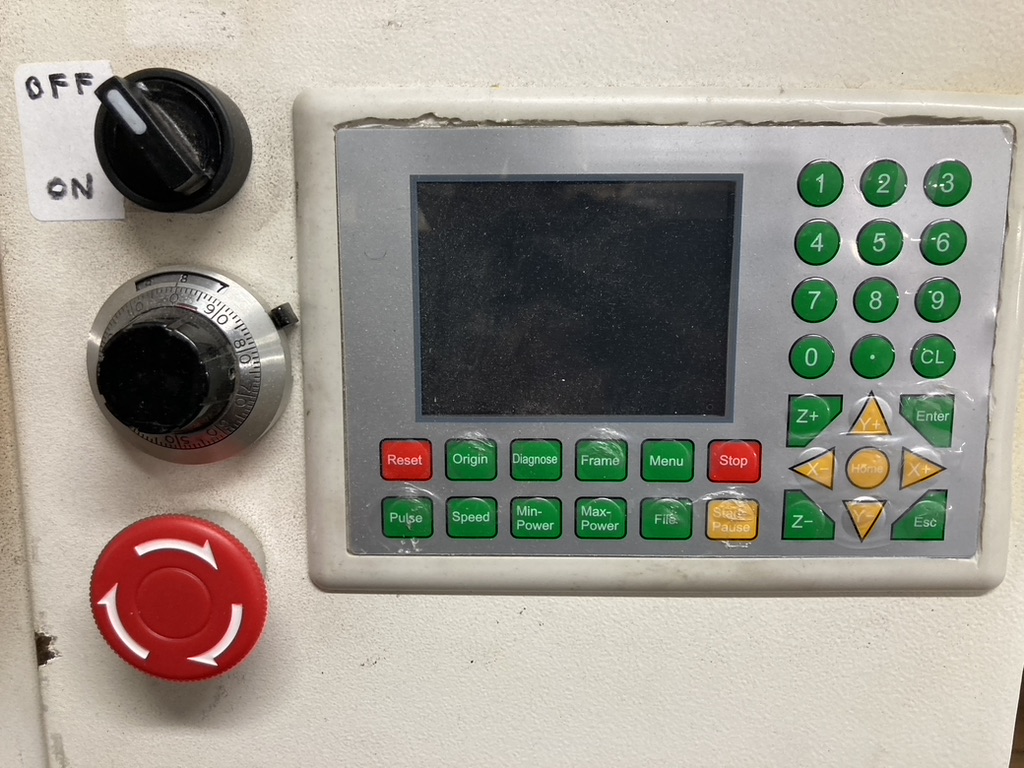
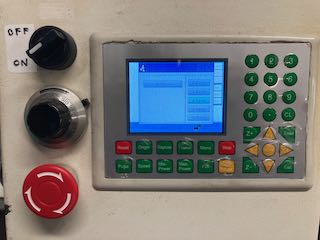
1. open lid | 1. open lid | ||
| − | 2. using the keypad home the xy and z axis | + | 2. using the keypad home the xy and z axis. Note: if for some reason the laser re-sets then it must be re-homed before continuing with a cut. |
[[File:controlpanel.jpeg]] | [[File:controlpanel.jpeg]] | ||
| Line 153: | Line 154: | ||
It is possible to produce simple designs using RDXWorks, rather than Inkscape or even a CAD program. | It is possible to produce simple designs using RDXWorks, rather than Inkscape or even a CAD program. | ||
| + | <h1> Materials </h1> | ||
| + | The following list is not exhaustive and has been copied from the internet. | ||
| + | == Flammable Materials == | ||
| + | |||
| + | Avoid using flammable and explosive materials to prevent fire risks. | ||
| + | |||
| + | |||
| + | == Polypropylene Foam: == | ||
| + | |||
| + | Highly flammable and can catch fire while cutting. | ||
| + | |||
| + | == Coated Carbon Fiber: == | ||
| + | |||
| + | The resin coating can give off toxic fumes, and cutting poses a significant fire risk. | ||
| + | |||
| + | == Oily or Resinous Wood: == | ||
| + | Pine, cedar, or teak woods have a high resin or oil content and can ignite or char excessively. Use untreated hardwoods like maple or birch. | ||
| + | |||
| + | == Reflective Metals== | ||
| + | Avoid highly reflective materials like mirror-finished aluminum, brass, and copper when using diode lasers. These materials reflect most of the diode laser beam's energy, making cutting extremely difficult. If necessary, use laser absorption coatings on these reflective materials to convert reflected light into heat and minimize safety risks. | ||
| + | |||
| + | |||
| + | == Mirror-finished Aluminum, Brass, and Copper: == | ||
| + | They reflect the laser beam, and hinder cutting ability. While specialized fiber lasers are designed for metal cutting, diode lasers are not. Use materials with non-reflective coatings. | ||
| + | |||
| + | == Materials with Toxic Emissions == | ||
| + | |||
| + | Carefully evaluate whether the material will produce toxic and harmful fumes during laser processing, and ensure that your air purification system can effectively filter it. | ||
| + | |||
| + | |||
| + | == Chlorinated Plastics (e.g., PVC and Vinyl): == | ||
| + | |||
| + | Cutting PVC releases chlorine gas, which is toxic to humans and can corrode the components of the laser cutter. | ||
| + | |||
| + | |||
| + | == ABS Plastic: == | ||
| + | |||
| + | It emits cyanide fumes when lasered. And it usually comes with melting results rather than a clean cut. Use acrylic instead. | ||
| + | |||
| + | == Chromium-tanned Leather: == | ||
| + | |||
| + | Chromium-tanned leather releases toxic chromium oxide fumes during laser cutting. Use vegetable-tanned leather instead. | ||
| + | |||
| + | == Certain types of Polycarbonate (PC): == | ||
| + | |||
| + | While some polycarbonates are laser-safe, others contain additives that can release toxic fumes when heated. | ||
| + | |||
| + | == Fiberglass :== | ||
| + | |||
| + | It contains both glass and resin, which can emit toxic fumes and harm the machine. Consider switching to laser compatible resins or glass without embedded fibers. | ||
| + | |||
| + | == Polystyrene Foam: == | ||
| + | |||
| + | It will burn quickly, give off toxic smoke, and catch fire easily. Make use of specially designed laser-safe foams. | ||
Latest revision as of 20:03, 8 January 2026
Contents
- 1 General Information
- 2 Initialise the laser
- 3 Load material
- 4 Focus the laser
- 5 Download instructions to laser
- 6 Power down Procedure
- 7 Monitoring Air Quality
- 8 Creating a Design using Inkscape
- 9 Create a Design using RDWorks
- 10 Materials
- 10.1 Flammable Materials
- 10.2 Polypropylene Foam:
- 10.3 Coated Carbon Fiber:
- 10.4 Oily or Resinous Wood:
- 10.5 Reflective Metals
- 10.6 Mirror-finished Aluminum, Brass, and Copper:
- 10.7 Materials with Toxic Emissions
- 10.8 Chlorinated Plastics (e.g., PVC and Vinyl):
- 10.9 ABS Plastic:
- 10.10 Chromium-tanned Leather:
- 10.11 Certain types of Polycarbonate (PC):
- 10.12 Fiberglass :
- 10.13 Polystyrene Foam:
General Information
Currently there is no formal induction for the Laser Cutter, instead usage of the Laser is with the assistance of another Authorised member or Pilot. So you need to book a slot with one of the designated pilots .
Note there is a charge for use of the Laser to contribute to maintenance currently set at £10/hour of contact time (not cut time). Additionally in most cases the user will have to supply their own laser safe materials to cut.
Whilst some of the contact time is inevitably used for learning, preparation and testing , try to do as much of the file preparation offline as possible.
The software used is RDWorks v8.01.60 (latest) which is free to download from: https://www.rdacs.com/en/download?type=software ,along with the manual.
This can be used to import and prep a design file. In most cases this will be importing an svg or dxf file unless you are a paying user of adobe illustrator or coral draw etc. Note RDWorks doesn't like to import objects only paths so ensure all of your objects, text, strokes etc are converted to paths.
The installers and manual can also be had from the Hackspace long with our library of starting recommended cut parameters which won't come with the download.
Initialise the laser
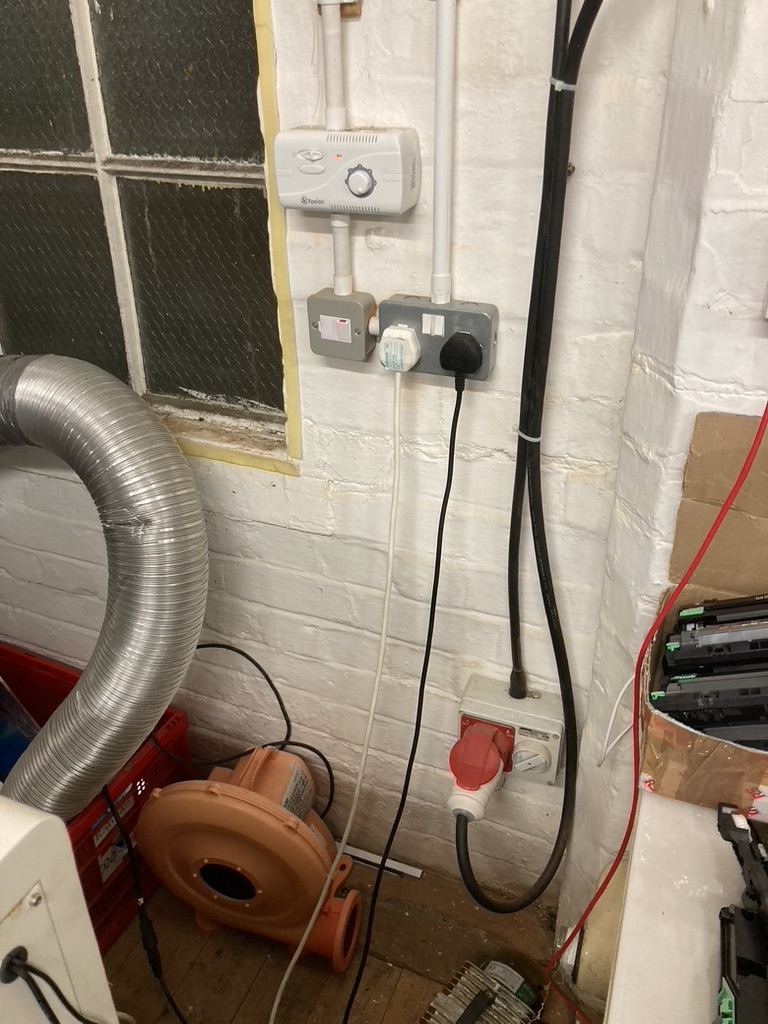
1. First close switches on the wall. The cooler should beep as it powers up. If it does not, check the unit is switched on before proceeding. Also check the temperature displayed on the cooler, it should be higher than (currently) 15 degrees. If not do not use the laser. Also check the temperature in the Hackspace this should (currently) also be greater than 15 degrees.

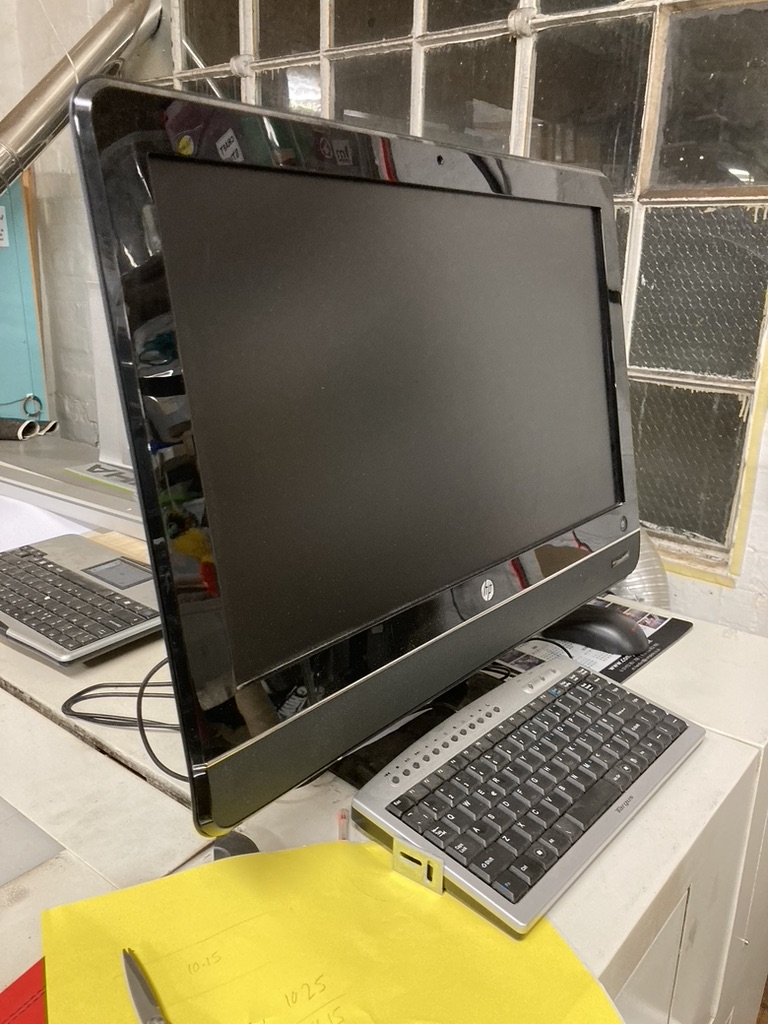
2. Boot up the PC

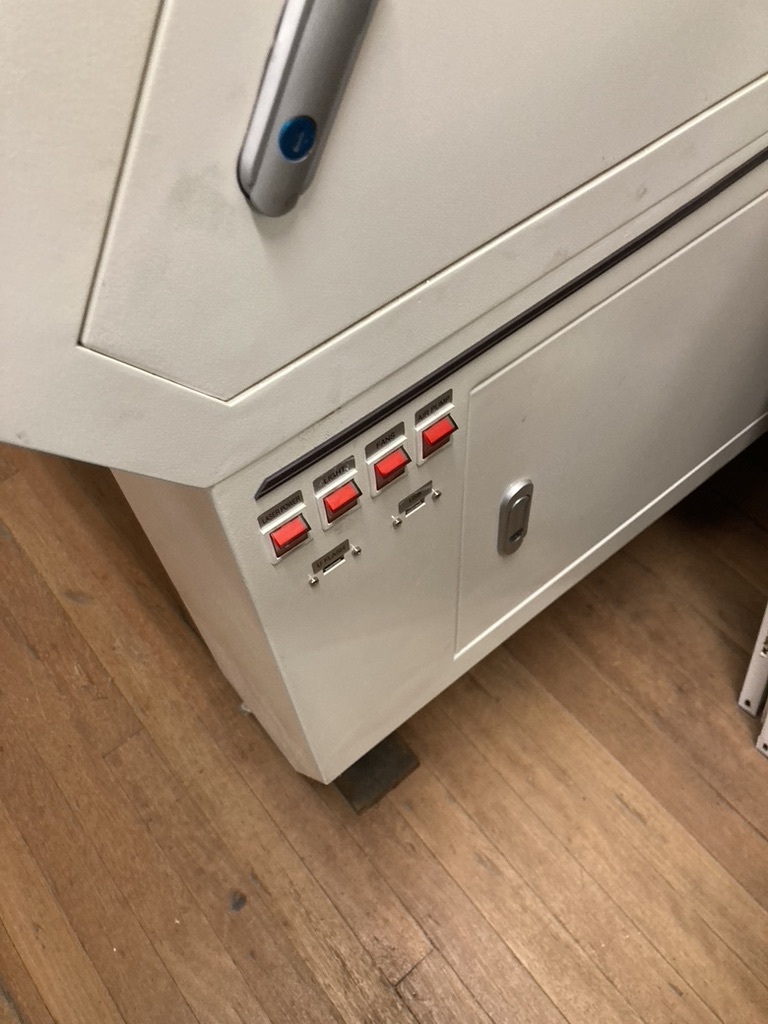
3. Switch on the laser

**To avoid tripping the circuit breaker leave a gap between closing each switch**
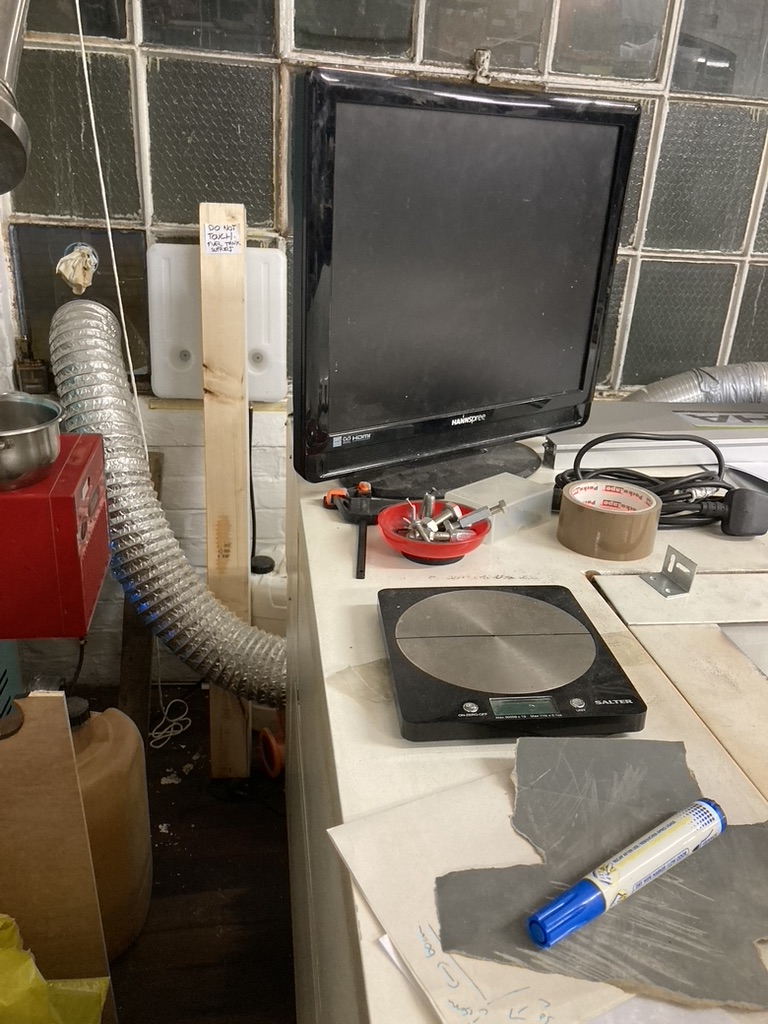
4. Switch on the camera monitor

5. Insert Safety Key

6. Switch on laser

Load material
1. open lid
2. using the keypad home the xy and z axis. Note: if for some reason the laser re-sets then it must be re-homed before continuing with a cut.

2. ensure no obstructions on edge of laser bed
3. place material on laser bed with spacers to ensure material is square to bed. The photo shows the material at the front of the laser, i.e. nearest to the operator. It has recently been found that fume extraction is better if the material is placed at the rear of the bed, i.e. furthest away from the operator.
4. use key pad to position laser on top of material
Focus the laser
- place 8mm focus perspex under laser with 8mm text vertical
- using one hand hold the laser and with the other slacken off the focus ring and lower it on top of the perspex
- carefully tighten up
- remove 8mm focus perspex

Download instructions to laser
* open RDWorks software application
* import image from USB stick
* define order in which laser is to cut by selecting layers
* set laser speed and strength
* download instructions to laser
* select file on laser keypad
* position laser at start point
* draw frame to ensure laser remains on material and avoids any weights used to hold the material down

* close lid
* start laser cutter
* monitor progress on TV monitor
* in the event of material catching fire, STOP laser and open lid. Put fire out(??)
* on completion of laser cutting , wait until all fumes have been extracted before opening lid.
Power down Procedure
This is the reverse of the power up procedure after cleaning the bed as follows:
Using the keypad position the laser to the top right hand corner of the bed.
   Remove the material from the bed.

   To remove the waste material from the bed remove the metal guides.
It is important that these are replaced in their original position, so remember where they came from.
Using a hand brush or vacuum cleaner remove all waste material.
Occasionally the metal guides will need wiping to remove a build up of glue. This has its own procedure under routine maintenance.
Replace the metal guides in their correct position.
Switch everything off in the reverse order to the power up sequence, shut the PC down properly, do not just remove power.
Pay for use of the laser either by leaving cash in the donations box or via a bank transfer to the Hackspace account, make the reference somthing like "laser"
Monitoring Air Quality
A fume extraction system is fitted to the laser cutter. At the moment this is not perfect and an air quality monitoring system has been fitted.
It has a traffic light system,
* green Ok
* yellow , be prepared to pause cutting if you or another member is affected by the fumes
* red pause cutting until the indicator returns to yellow, preferably green.

Creating a Design using Inkscape
Create a sketch in Inkscape and save as a ".svg" file.
Use different colours or layers to differentiate between cuts and engraving.
Export as a ".dxf" file for import into RDXworks.
Before exporting ensure that all objects have been converted to a path.
Otherwise, a circular object will be visible in Inkscape, but will not appear when imported into RDXworks.
Create a Design using RDWorks
It is possible to produce simple designs using RDXWorks, rather than Inkscape or even a CAD program.
Materials
The following list is not exhaustive and has been copied from the internet.
Flammable Materials
Avoid using flammable and explosive materials to prevent fire risks.
Polypropylene Foam:
Highly flammable and can catch fire while cutting.
Coated Carbon Fiber:
The resin coating can give off toxic fumes, and cutting poses a significant fire risk.
Oily or Resinous Wood:
Pine, cedar, or teak woods have a high resin or oil content and can ignite or char excessively. Use untreated hardwoods like maple or birch.
Reflective Metals
Avoid highly reflective materials like mirror-finished aluminum, brass, and copper when using diode lasers. These materials reflect most of the diode laser beam's energy, making cutting extremely difficult. If necessary, use laser absorption coatings on these reflective materials to convert reflected light into heat and minimize safety risks.
Mirror-finished Aluminum, Brass, and Copper:
They reflect the laser beam, and hinder cutting ability. While specialized fiber lasers are designed for metal cutting, diode lasers are not. Use materials with non-reflective coatings.
Materials with Toxic Emissions
Carefully evaluate whether the material will produce toxic and harmful fumes during laser processing, and ensure that your air purification system can effectively filter it.
Chlorinated Plastics (e.g., PVC and Vinyl):
Cutting PVC releases chlorine gas, which is toxic to humans and can corrode the components of the laser cutter.
ABS Plastic:
It emits cyanide fumes when lasered. And it usually comes with melting results rather than a clean cut. Use acrylic instead.
Chromium-tanned Leather:
Chromium-tanned leather releases toxic chromium oxide fumes during laser cutting. Use vegetable-tanned leather instead.
Certain types of Polycarbonate (PC):
While some polycarbonates are laser-safe, others contain additives that can release toxic fumes when heated.
Fiberglass :
It contains both glass and resin, which can emit toxic fumes and harm the machine. Consider switching to laser compatible resins or glass without embedded fibers.
Polystyrene Foam:
It will burn quickly, give off toxic smoke, and catch fire easily. Make use of specially designed laser-safe foams.